
CampEquipmentPlus relies on reader support. Purchases made via links on our website may earn us an affiliate commission at no extra cost to you, helping keep the site running.
It’s day two of your camping trip, and your ice is already melted soup, your food is floating in lukewarm water, and you’re wondering if that potato salad is still safe to eat. I’ve been there—dealing with disappointing coolers that promised five-day ice retention but delivered barely 24 hours.
Choosing the best cool box for camping shouldn’t feel like gambling with food safety, but cheap coolers make it exactly that.
The best camping coolers keeps food cold for days, withstands rough handling, and justifies the space it occupies in your vehicle. After years of testing different coolers across various camping scenarios and temperatures, I’ve learned what actually matters beyond marketing hype and brand names.
Understanding Ice Retention Reality
Ice retention claims are marketing department fantasies more than real-world performance. When manufacturers claim “10 days of ice retention,” they’re testing under perfect conditions—pre-chilled cooler, 2:1 ice-to-contents ratio, ambient temperature of 70°F, and nobody opening the lid.
Reality looks different. You’re opening your cooler multiple times daily, ambient temperatures exceed 90°F, and you didn’t pre-chill anything. Expect about 30-50% of advertised ice retention in actual camping conditions. A cooler claiming 10 days might give you 4-5 days of usable ice in realistic scenarios.
I’ve tested this extensively. My premium rotomolded cooler advertises 10 days. In summer camping with reasonable use, I get 5-6 days before ice is mostly gone. Still impressive, but nowhere near the marketing claims. Set realistic expectations based on halving manufacturer numbers.
Cooler Types and Their Best Uses
Hard-Sided Coolers
Traditional hard coolers dominate camping for good reason. They offer the best ice retention, protect contents from crushing, and withstand abuse that would destroy soft coolers. The rigid construction provides superior insulation and durability.
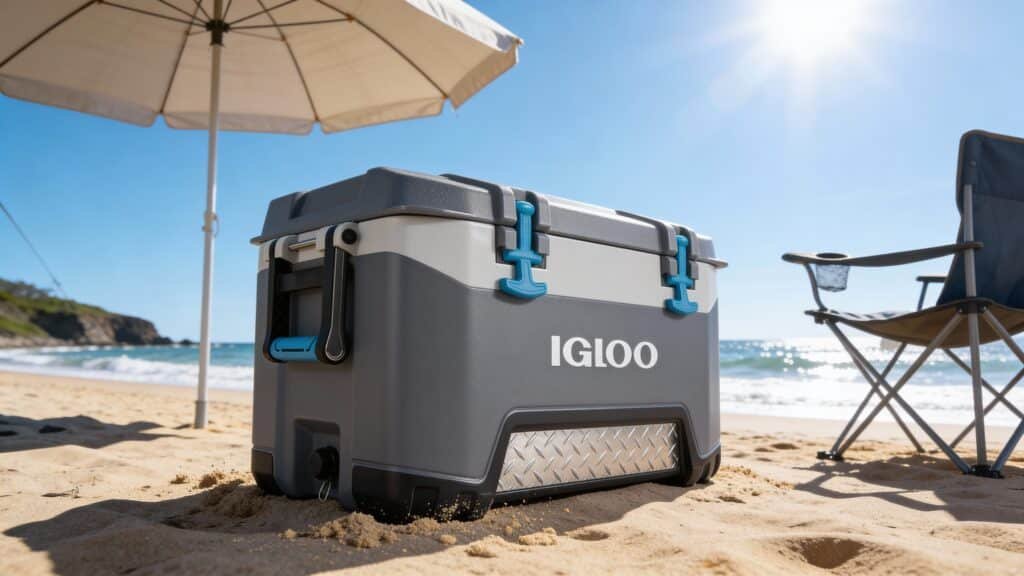
These coolers range from cheap styrofoam-insulated boxes to premium rotomolded units built like bank vaults. The performance gap between budget and premium hard coolers is massive—you’re not just paying for brand names, you’re getting genuinely superior insulation and construction.
I use hard-sided coolers for all multi-day camping trips. The ice retention and durability justify the weight and bulk. For car camping where you’re not carrying coolers far, hard-sided options make the most sense.
Soft-Sided Coolers
Soft coolers offer portability and flexibility that hard coolers can’t match. They collapse when empty, weigh significantly less, and often include shoulder straps for easier carrying. Perfect for day trips, picnics, and situations requiring mobility.
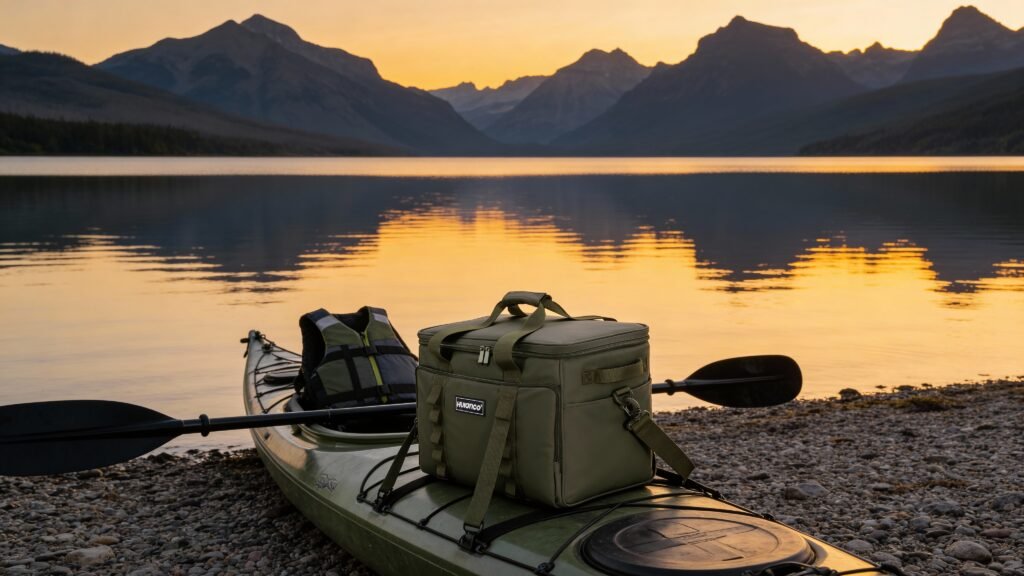
Ice retention suffers compared to hard coolers—expect 24-48 hours maximum even from quality soft coolers. The flexible insulation simply can’t compete with thick rigid foam. I use soft coolers for day trips and beach outings, never for extended camping.
The portability advantage matters for specific uses. Hiking to a picnic spot or carrying supplies to the beach becomes much easier with a soft cooler. Know their limitations and use them appropriately.
Electric Coolers
12-volt powered coolers plug into vehicle power outlets and actively cool contents without ice. They maintain consistent temperatures, don’t create melt water mess, and never run out of ice. Technology finally caught up to make these practical.
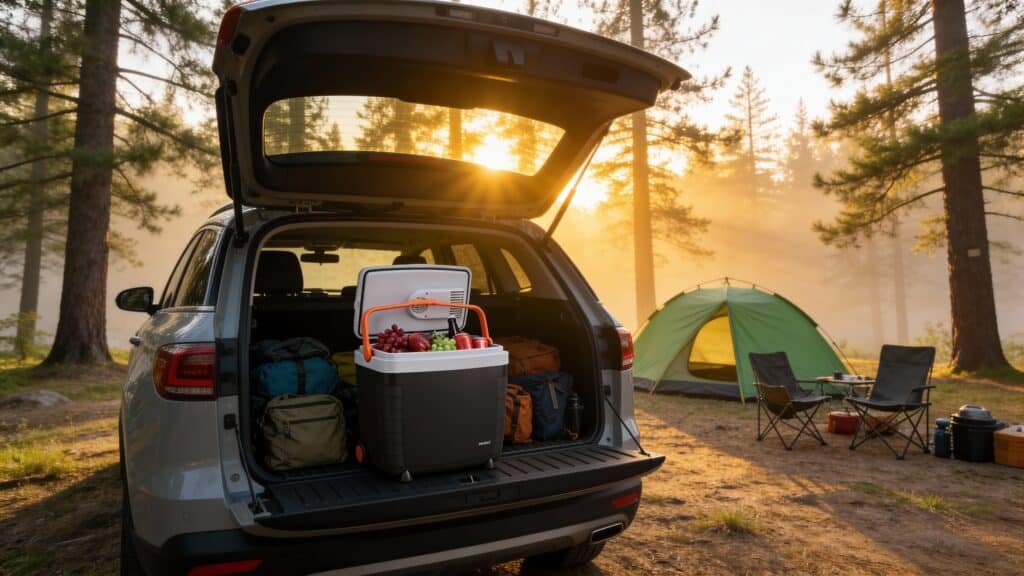
The downside? Cost, weight, and power requirements. Quality electric coolers cost $400-1000+, weigh 30+ pounds empty, and require constant power. For overlanding and RV camping with reliable power, they’re game-changers. For traditional camping, they’re impractical.
I’ve borrowed friends’ electric coolers for road trips and loved the convenience. No ice management, no wet food, consistent cooling. But the price and power dependency keep me from owning one for occasional camping use.
Wheeled Coolers
Built-in wheels transform heavy coolers from back-breaking burdens to manageable rolling cargo. Large coolers loaded with ice and food easily exceed 50 pounds—wheels make that weight practical to move.
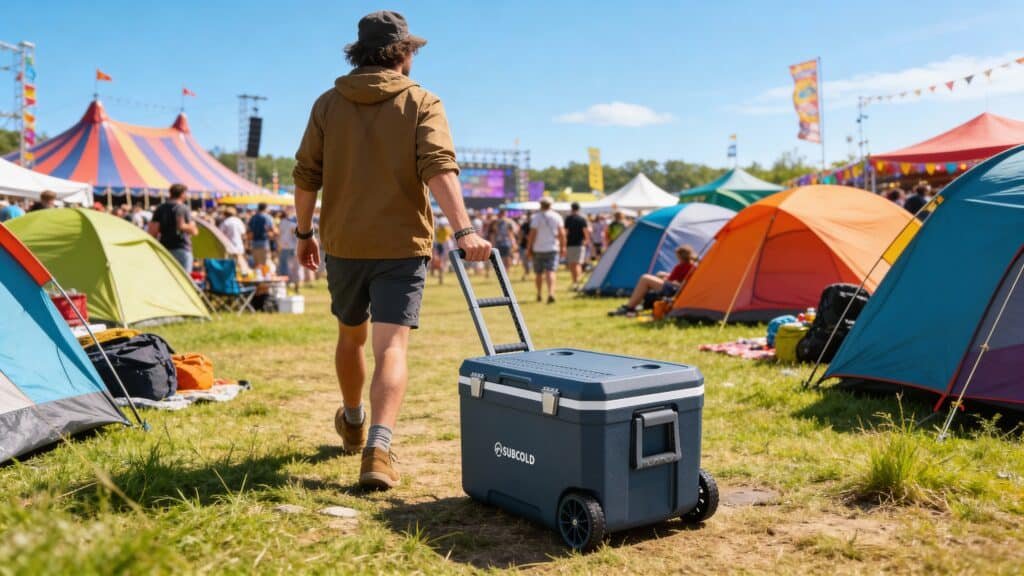
Not all wheeled coolers are created equal. Cheap plastic wheels fail quickly on rough terrain. Quality wheeled coolers feature oversized, durable wheels that handle gravel, sand, and uneven ground. The handle design matters too—telescoping handles with comfortable grips make pulling easier.
I regret not buying a wheeled cooler sooner. Moving a 60-pound cooler from vehicle to campsite was unnecessarily difficult for years. Wheels aren’t just convenience—they prevent injuries and make large coolers actually usable.
Size Matters: Choosing the Right Capacity
Personal/Small (20-35 Quarts)
Small coolers work for solo campers or couples on short trips. They hold enough food and drinks for 1-2 people for a weekend without excessive bulk. These sizes are also easier to lift and fit better in smaller vehicles.
I keep a 28-quart cooler for day trips and weekend camping when it’s just me or me plus one other person. It holds everything needed without tempting me to overpack. Smaller coolers are easier to pre-chill and maintain proper ice-to-contents ratios too.
Don’t buy small coolers for group camping—you’ll struggle with capacity and end up making multiple trips or buying additional coolers anyway. Match size to actual group size and trip length.
Medium (45-65 Quarts)
This range offers the best versatility for most camping scenarios. A 50-60 quart cooler accommodates 3-4 people for weekend trips or 2 people for week-long adventures. The size balances capacity with manageability.
I recommend starting here unless you have specific reasons for smaller or larger coolers. These sizes handle diverse situations while still being moveable by one person (barely) when loaded. They fit in most vehicle cargo areas without dominating space entirely.
Large (70-100 Quarts)
Large coolers serve groups or extended trips where food storage needs exceed what medium coolers can handle. Family camping, group trips, or week-long adventures benefit from this extra capacity.
The weight when loaded becomes significant—these coolers can exceed 100 pounds full. Wheels become necessary rather than optional. Make sure your vehicle can accommodate the physical size before buying large coolers.
I use a 75-quart cooler for family camping trips with 4+ people. The capacity handles substantial food storage, but moving it requires two people or wheels. Consider your physical ability to handle these coolers when full.
Extra Large (100+ Quarts)
Massive coolers work for very large groups, extended base camps, or people who seriously overpack. Most campers never need this much capacity. These coolers become furniture more than portable gear.
Unless you’re regularly camping with 6+ people or staying out for weeks, this size creates more problems than it solves. The weight, vehicle space requirements, and physical challenges of moving them make smaller multiple coolers often more practical.
Insulation Technology Explained
Foam Thickness
Thicker insulation equals better ice retention, but also means heavier coolers and less interior capacity for the same exterior dimensions. Budget coolers use 1 inch of foam; premium options use 2-3 inches in walls and lids.
I can physically feel the insulation difference between budget and premium coolers. Placing your hand on the exterior, premium coolers stay cool to the touch while cheap ones feel warm. That temperature difference represents ice melting inside versus staying frozen.
Lid insulation often gets overlooked but matters tremendously. Heat rises, and a poorly insulated lid bleeds cold constantly. Check lid thickness when comparing coolers—some manufacturers skimp here to save costs.
Rotomolded Construction
Rotomolded coolers represent premium construction where plastic is heated and rotated in molds, creating seamless single-piece walls and lids. This eliminates seams where heat can infiltrate and creates incredibly durable coolers.
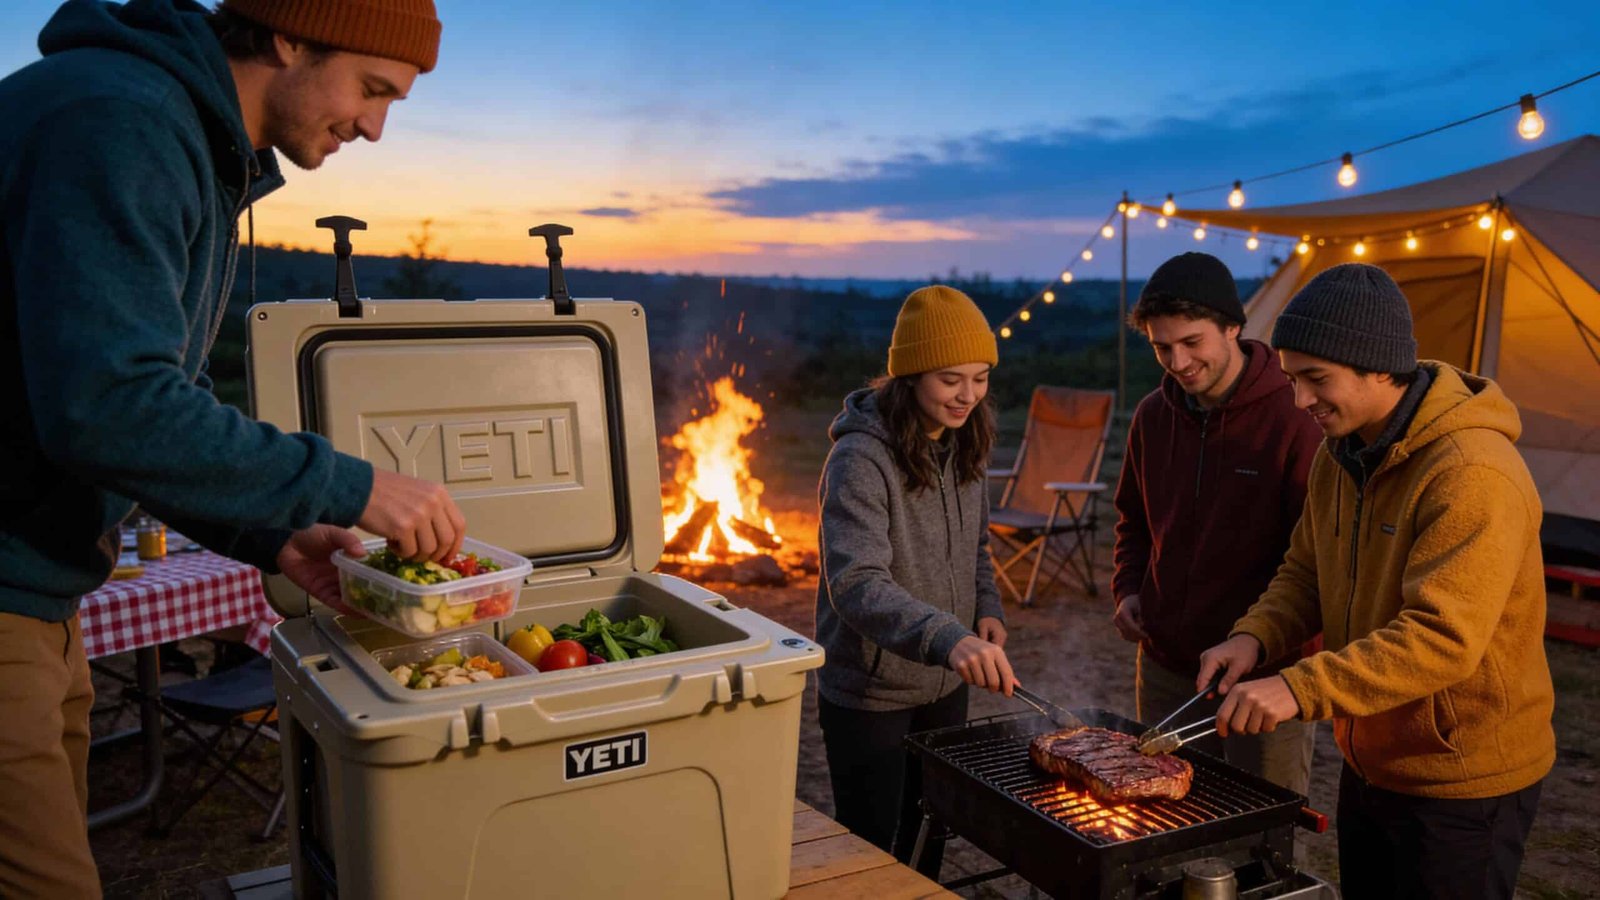
The process allows for thicker, more consistent insulation than cheaper manufacturing methods. Brands like YETI, RTIC, and Orca use rotomolding, which partially explains their higher prices. The performance difference is real, not just marketing.
I resisted premium rotomolded coolers for years, thinking they were overpriced status symbols. Then I borrowed one for a week-long trip and immediately understood. The ice retention and build quality justify the cost for serious camping.
Pressure-Injected Foam
Budget and mid-range coolers typically use pressure-injected foam insulation between inner and outer plastic shells. Quality varies enormously—cheap coolers use minimal foam with air gaps; better coolers fill space completely with higher-density foam.
You can’t easily evaluate foam quality from outside the cooler. Rely on reviews, brand reputation, and warranties as indicators. Weight provides clues too—heavier coolers generally have more insulation, though materials and construction affect weight significantly.
Critical Features That Actually Matter
Gasket Quality
Rubber gaskets around lid edges create airtight seals preventing warm air infiltration. Premium coolers use thick, freezer-grade gaskets; budget options use thin gaskets or none at all. This single feature dramatically affects ice retention.
Test gasket effectiveness by closing the lid on paper, then trying to pull the paper out. Quality gaskets grip paper firmly; poor gaskets let paper slide out easily. This simple test reveals a lot about cooler performance before buying.
My cheap coolers had barely functional gaskets that degraded quickly in sunlight. Premium cooler gaskets remain effective after years of use and UV exposure. Replace damaged gaskets if possible—they’re critical for performance.
Drain Plug Design
Smart drain plug placement and design matters more than you’d think. Bottom-corner drains empty water efficiently; center drains leave puddles. Threaded plugs seal better than simple rubber plugs but can be annoying to remove.
Some premium coolers feature garden hose thread drains, letting you attach hoses for easy drainage without lifting heavy coolers. This convenience seems minor until you’re trying to drain 15 pounds of melt water from a cooler you can barely lift.
I’ve struggled with terrible drain designs enough to now check this feature carefully. A well-designed drain makes maintenance significantly easier. Poor drains mean lifting heavy coolers repeatedly or dealing with residual water constantly :/
Latches and Hinges
Durable latches keep lids sealed under pressure and during rough handling. Rubber T-latches dominate premium coolers; plastic clips suffice for light use. Heavy-duty latches add cost but prevent problems when coolers are jostled during transport.
Integrated hinges versus separate lids affects convenience. Integrated hinges prevent losing lids and make opening easier. Separate lids allow filling coolers from any angle but create another piece to track and potentially lose.
I prefer integrated hinges for convenience. Friends who prefer separate lids cite easier filling and packing flexibility. Both work—choose based on personal preference and typical use cases.
Tie-Down Points
Integrated tie-down slots or attachment points secure coolers during vehicle transport. Unsecured coolers become dangerous projectiles during accidents or sudden stops. Even moderate braking can send 80-pound coolers sliding.
Some premium coolers include measurement markings, built-in bottle openers, and other extras. These features are nice but shouldn’t drive purchase decisions. Focus on fundamental performance—insulation, durability, and functional design—before worrying about bottle openers.
Ice Management Strategies
Pre-Chilling
Pre-chill your cooler 24 hours before loading it by filling with ice and closing the lid. This brings cooler walls and insulation down to temperature, preventing your actual food-storage ice from being wasted cooling the cooler itself.
I ignored this advice for years, thinking it was overkill. Then I tested it properly and gained an extra day of ice retention. The improvement was dramatic enough that I now pre-chill religiously. Empty the pre-chill ice, wipe dry, then load with fresh ice and food.
Ice-to-Contents Ratio
Aim for 2:1 ice-to-contents ratio by volume for optimal cooling and retention. This means two-thirds ice, one-third food and drinks. Most people underestimate ice needs and wonder why their coolers underperform.
Block ice lasts longer than cubed ice due to lower surface area. I use block ice for the bottom layer, cubed ice around items, then a sacrificial bag of ice on top that I use first. This strategy maximizes retention while maintaining convenient access to cubed ice.
Frozen water bottles work great as ice substitutes—they last longer than loose ice and become drinkable as they melt. I freeze half my water bottles for camping trips, using them as ice initially and drinking them as they thaw.
Opening Discipline
Every time you open your cooler, you lose cold. Organize contents logically so you can grab items quickly without digging. Consider using two coolers—one for frequently accessed drinks, another for food that stays closed most of the time.
The two-cooler strategy dramatically improves food cooler performance. My drink cooler gets opened constantly and ice melts fast. My food cooler stays closed except at meal times and maintains ice much longer. The extra cooler pays off in extended ice retention.
Shade and Insulation
Keep coolers in shade and add external insulation for extreme heat. Wet towels or blankets over coolers reflect sunlight and add insulation. Direct sunlight destroys ice retention regardless of cooler quality.
Park your vehicle strategically to keep coolers shaded during the day. I’ve noticed 50% ice retention improvement simply by keeping coolers out of direct sun. It’s the easiest performance enhancement available.
Brand Comparisons and Value
Premium Brands (YETI, RTIC, Orca, Pelican)
These brands deliver genuine performance advantages through superior materials, construction, and design. Ice retention, durability, and features justify higher prices for people who camp regularly or in hot climates.
I own both YETI and RTIC coolers. Performance is nearly identical—RTIC offers similar quality at lower prices by skipping retail markups and extensive marketing. Both dramatically outperform budget coolers in real-world use.
Are they worth 3-5x the price of budget coolers? Depends on your camping frequency and needs. I camp frequently enough that yes, the performance justifies the cost. Occasional campers might be perfectly happy with mid-range options.
Mid-Range Options (Coleman Xtreme, Igloo MaxCold, Cabela’s)
Mid-range coolers offer decent performance at reasonable prices. They won’t match premium rotomolded coolers but significantly outperform basic models. For casual camping, these represent excellent value.
Coleman Xtreme coolers have served me well for years before upgrading to premium options. They kept food cold for long weekends reliably, cost under $100, and handled rough use adequately. Perfectly acceptable for moderate camping needs.
Budget Coolers
Basic coolers work for day trips and short camping where ice retention beyond 24 hours isn’t critical. They’re fine for picnics, beach days, and casual use. Just don’t expect multi-day performance or durability.
I keep a cheap cooler for throw-away situations—fishing trips, beach days, or times when cooler theft or damage is possible. Having an inexpensive option you won’t cry over losing has value for specific situations.
Special Use Coolers
Backpack Coolers
Soft coolers with backpack straps combine cooling with portability for hiking to picnic spots or day adventures. They sacrifice ice retention for mobility but excel when you need to carry cooling longer distances.
I use a backpack cooler for hikes to swimming holes or distant picnic locations. The hands-free carrying makes distance practical where regular coolers would be impossible. Just manage expectations—expect 12-24 hours of cooling maximum.
Marine Coolers
Salt-water rated coolers feature corrosion-resistant hardware and additional UV protection for boating and beach use. The enhancements prevent rapid degradation from salt exposure and intense sun.
Unless you’re specifically boating or beach camping regularly, marine-rated features aren’t necessary. Standard quality coolers handle occasional beach trips fine. Marine coolers cost more for features most land-based campers don’t need.
Bear-Resistant Coolers
Some premium coolers meet Interagency Grizzly Bear Committee (IGBC) certification for bear resistance. These coolers feature reinforced construction and locking mechanisms that prevent bear entry.
I camp in bear country frequently, so bear-resistant coolers provide peace of mind and comply with regulations in many areas. If you’re not camping where bears are concerns, this certification adds cost without benefit. Know your camping locations and choose accordingly.
Maintenance and Longevity
Cleaning
Clean coolers thoroughly after each trip to prevent odors and mildew. I use baking soda and water solution, scrubbing all surfaces, then rinse completely and air dry with the lid open. This simple routine prevents 90% of cooler problems.
Avoid harsh chemicals that might damage plastics or leave residual odors. Mild dish soap works fine for routine cleaning. For stubborn odors, vinegar solutions or activated charcoal left inside overnight absorb smells effectively.
Storage
Store coolers with lids propped open in cool, dry locations. Closed storage traps moisture and encourages mildew. I keep mine in the garage with lids partially open, maintaining airflow while keeping dust out.
Never store coolers with drain plugs installed—remove them for airflow through drain holes. This small detail prevents moisture accumulation and associated odor problems.
Repair and Replacement Parts
Quality manufacturers offer replacement parts for latches, drain plugs, and gaskets. Taking advantage of these parts extends cooler life significantly. My 10-year-old cooler has new latches and gaskets but otherwise works perfectly.
Check warranty terms before buying. Premium coolers often include multi-year or lifetime warranties. These warranties have value—manufacturers stand behind products because they’re confident in durability.
Making Your Decision
Choosing the best camping coolers requires honest assessment of your camping style, frequency, and budget. Don’t buy premium coolers for twice-yearly camping trips. Don’t suffer with budget coolers if you camp monthly in hot climates.
Consider starting mid-range, using coolers across several trips, then deciding if upgrading makes sense. Real-world experience with your specific needs informs better purchase decisions than theoretical requirements.
Multiple coolers for different purposes makes sense for active campers. I own four coolers ranging from small soft coolers to large rotomolded units. Each serves specific purposes, and having options improves every trip.
Final Thoughts
The best camping cooler balances performance, capacity, and cost for your specific camping style. Premium coolers deliver genuine advantages for serious campers. Budget options work fine for casual use. Understanding these differences prevents overspending or under-buying.
Ice retention depends as much on proper use as cooler quality. Pre-chilling, proper ice ratios, smart opening discipline, and shade make any cooler perform better. Combine quality equipment with good technique for optimal results.
And FYI? Don’t stress about having the absolute best cooler. Having any functional cooler and getting outside beats waiting for the perfect cooler purchase. Start with what you can afford, learn your needs through experience, then upgrade if necessary. Happy camping! 🙂