


CampEquipmentPlus relies on reader support. Purchases made via links on our website may earn us an affiliate commission at no extra cost to you, helping keep the site running.
The trail calls, and the views answer back. 9 Trailhead Treasures Leading to Mountain Panoramas is the kind of hike where every switchback feels like a wink from nature. You lace up, you breathe deep, and you realize the summit isn’t just a peak—it’s a postcard you earned with every step. Ready to chase those jaw-dropping panoramas? Let’s go.
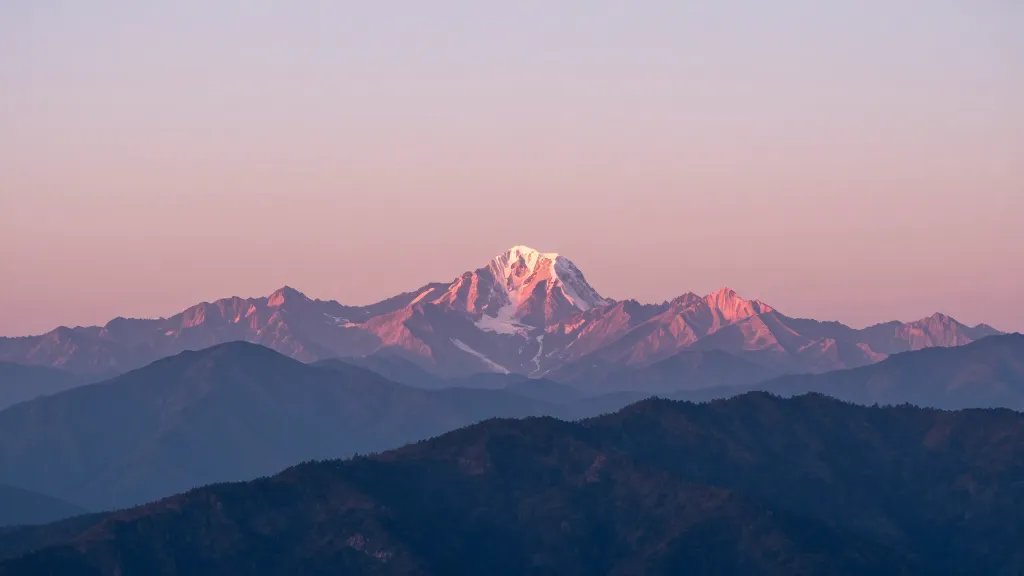
1. The Sunrise Approach: Pink Light, Big Rewards
There’s something unbeatable about grabbing a trailhead at dawn. The world yawns awake while you tiptoe into the quiet. FYI, the best light to shoot panoramas is that golden hour glow just after sunrise, when the mountains blush and the valleys glow.
– Pick a trail with a clear launch point and a view destination.
– Pack a light layer, a snack, and a charged camera or phone.
– Pace yourself so you’re not sprinting to the overlook in a heat wave of fatigue.
Why it works: you catch the light while the air is crisp and the crowds are still snoozing. The panorama? It feels earned, not borrowed.
2. Ridge Routes: Walking the High Line of the Hills
Ridge routes are where the map becomes a line of dramatic horizons. You’ll feel perched even when your legs tell you to sit down and nap. The trick is to keep a steady tempo and stay mindful of weather.
– Choose a continuous ridge with frequent overlook points.
– Move deliberately, testing every foot placement; safety first, obviously.
– Bring a compact tripod or a stable steady hand for wide-angle shots.
Subsection:
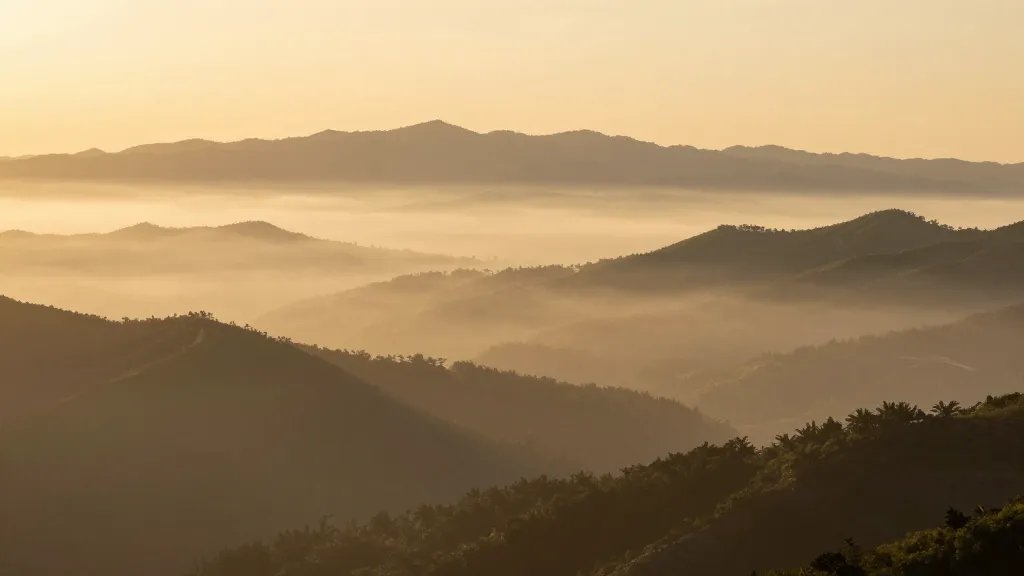
Weather Watch: When Clouds Push In
Clouds aren’t your enemy; they’re the drama. If the fog rolls in too thick, you get that moody, mystical panorama. If it clears, boom—crisp definition and color punch. FYI, check the forecast and be ready to turn back if conditions worsen quickly.
3. Forest-Edge Fire Lines: Frame the Scene Like a Pro
Forest edges give you natural frames for your panoramas—think of them as picture borders that Mother Nature kept changing last minute. These trails keep you close to trees but with enough open space to see the land stretch.
– Look for gaps in the canopy that align with distant peaks.
– Use a leading line from trail edges to draw the eye toward the horizon.
– Don’t neglect foreground interest; rocks, roots, and old logs add depth.
Subsection:
Technique Tips: Quick Composition Tricks
– Place a foreground object a third of the way into the frame for a dynamic feel.
– Shoot in landscape mode and consider a slight tilt to capture a sense of altitude.
– If you’re into stacking shots, try a few exposure bracketing shots for high-contrast scenes.
4. Alpine Meadows: Color Bombs and Wide Open Space
Meadows in high country are proof that color exists in megaphone mode. Wildflowers, ribbed grasses, and a backdrop of jagged peaks—this is where panoramas feel almost surreal.
– Time your meadow visit for mid-morning light so colors pop.
– Bring a light, bright jacket for contrast in photos and keep sun protection handy.
– Move slowly and look for quiet spots that let the scenery breathe.
Subsection:
Pack List for Meadows Magic
– Broad-spectrum sunscreen, hat, and sunglasses
– Lightweight rain shell (weather in the mountains loves to surprise you)
– A small first-aid kit and plenty of water
– A microfiber cloth for cleaning glasses or camera lenses
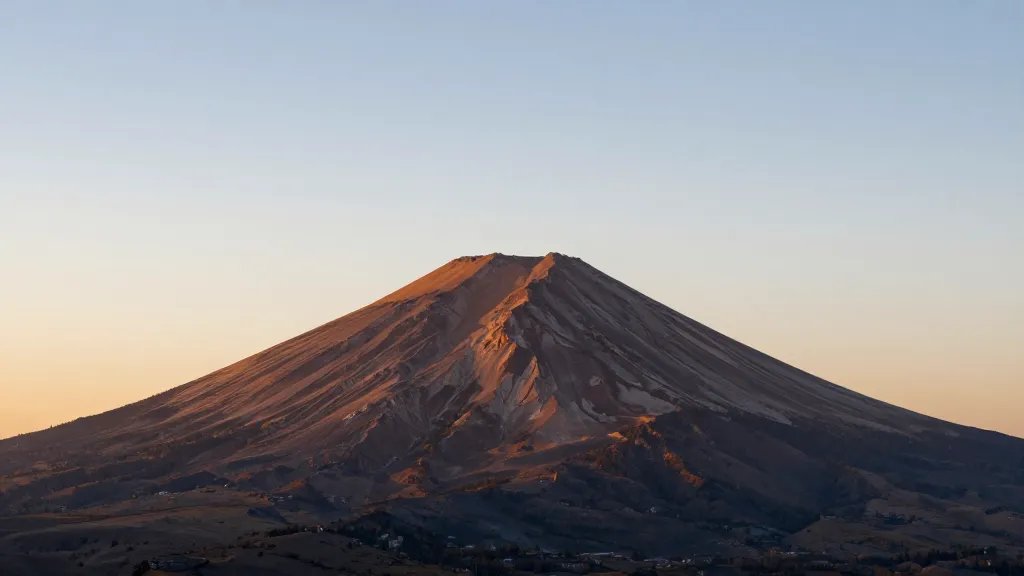
5. Summit Conversations: The Big Payoff Over the Crest
Reaching the top is a ritual. You deserve a little victory speech, even if it’s just in your head. The panoramic payoff is not just the view but the sense of accomplishment that sticks with you.
– Find a spot that allows a full 180-degree or more view.
– Take a breather, then orient yourself—scan left, then right, then back to center.
– Snap a few frames and then stand there for a minute or two, letting the moment sink in.
H3:
Overlook Etiquette: Share the Summit, Share the Joy
If you’re with others, keep voices down and give space for people to soak it in. No one wants to play “photo-bomb the panorama.” IMO, the best memories happen when you let the landscape tell its own story.
6. Water-Influenced Vistas: Lakes, Reservoirs, and Reflections
Water loves mountains, and mountains love reflections. Tranquil lakes or shimmering reservoirs can double the drama of a panorama. You’ll get a mirror image that makes the scene feel twice as lush.
– Scout for still water moments, especially early morning or late afternoon.
– Use a polarizing filter if you’ve got one to cut glare and boost color.
– Include a shoreline in the foreground to anchor the reflection.
Fortune favors the patient. If you wait for a breeze-free moment, you’ll capture a flawless mirror image.
7. Tech Tricks to Elevate Your Panoramas
Your gear matters, but your approach matters more. Here are a few tricks to keep your panoramas from looking like “meh.”
– Shoot in RAW if possible; you’ll thank yourself later in post.
– Use a wide-angle lens to capture the breadth, or stitch multiple frames for a colossal panorama.
– Keep ISO low and shutter speed steady to avoid motion blur in windy high-altitude air.
H3:
Tripod or Go-Home? When to Use What
Tripods stabilize your shots, especially in dim light or long exposure scenes. If you’re moving quickly between viewpoints, a monopod or even a sturdy handhold can do. Either way, keep your horizon straight and your verticals plumb.
8. Safety First: Trails That Respect the Panoramas
A great panorama won’t mean much if you end up with a twisted ankle or a soaked respiration. Safety is part of the art.
– Check the trail’s difficulty and your fitness level before you go.
– Stay on marked paths and watch for loose scree on slopes.
– Bring layers, hydration, snacks, and a lightweight emergency kit.
FAQ section (formatted with
tags)How do I choose the best trail for panoramic views?
Start by researching trails with known overlooks or ridge lines. Look for recent trip reports with sunrise or sunset photos. If possible, pick a route with multiple viewpoints so you can pick the best shot without rushing.
What gear should I bring for panoramic hikes?
A small pack with water, snacks, a light layer, sun protection, and a camera or phone works. If you’re into photography, bring a wide-angle lens, a tripod or monopod, and a spare battery. FYI, a microfiber cloth helps clean lenses after windy moments.
When is the best time to capture mountain panoramas?
Dawn and dusk are classic. The light is softer, colors richer, and the air often crystal clear. If you can swing it, shoot at least once during each window to compare the moods.
How do I handle crowds at popular overlooks?
Be patient, wait your turn, and keep your gear compact enough not to create a bottleneck. If you’re feeling playful, offer to swap spots so someone else can frame a better shot. Sharing is caring, especially on a lookout with a view worth fighting for.
What’s the best way to stitch or edit panoramic photos?
If you’re stitching, shoot in panorama mode or overlap frames by about 20-30%. In post, align and blend for a seamless horizon. Don’t overdo saturation; mountains usually don’t need a superhero filter.
Conclusion
Panoramas aren’t just pictures; they’re earned badges from the trail. Each mile, each switchback, each breath taken with a view in sight stacks up into a scene you’ll relive in your head for weeks. So pick a trail, chase that first light, and let the mountains do the talking. IMO, the best panoramas come from trails that surprise you with a new angle at every turn. Get out there, bring a friend if you want the extra hype, and let the landscapes whisper, “You got this.”