
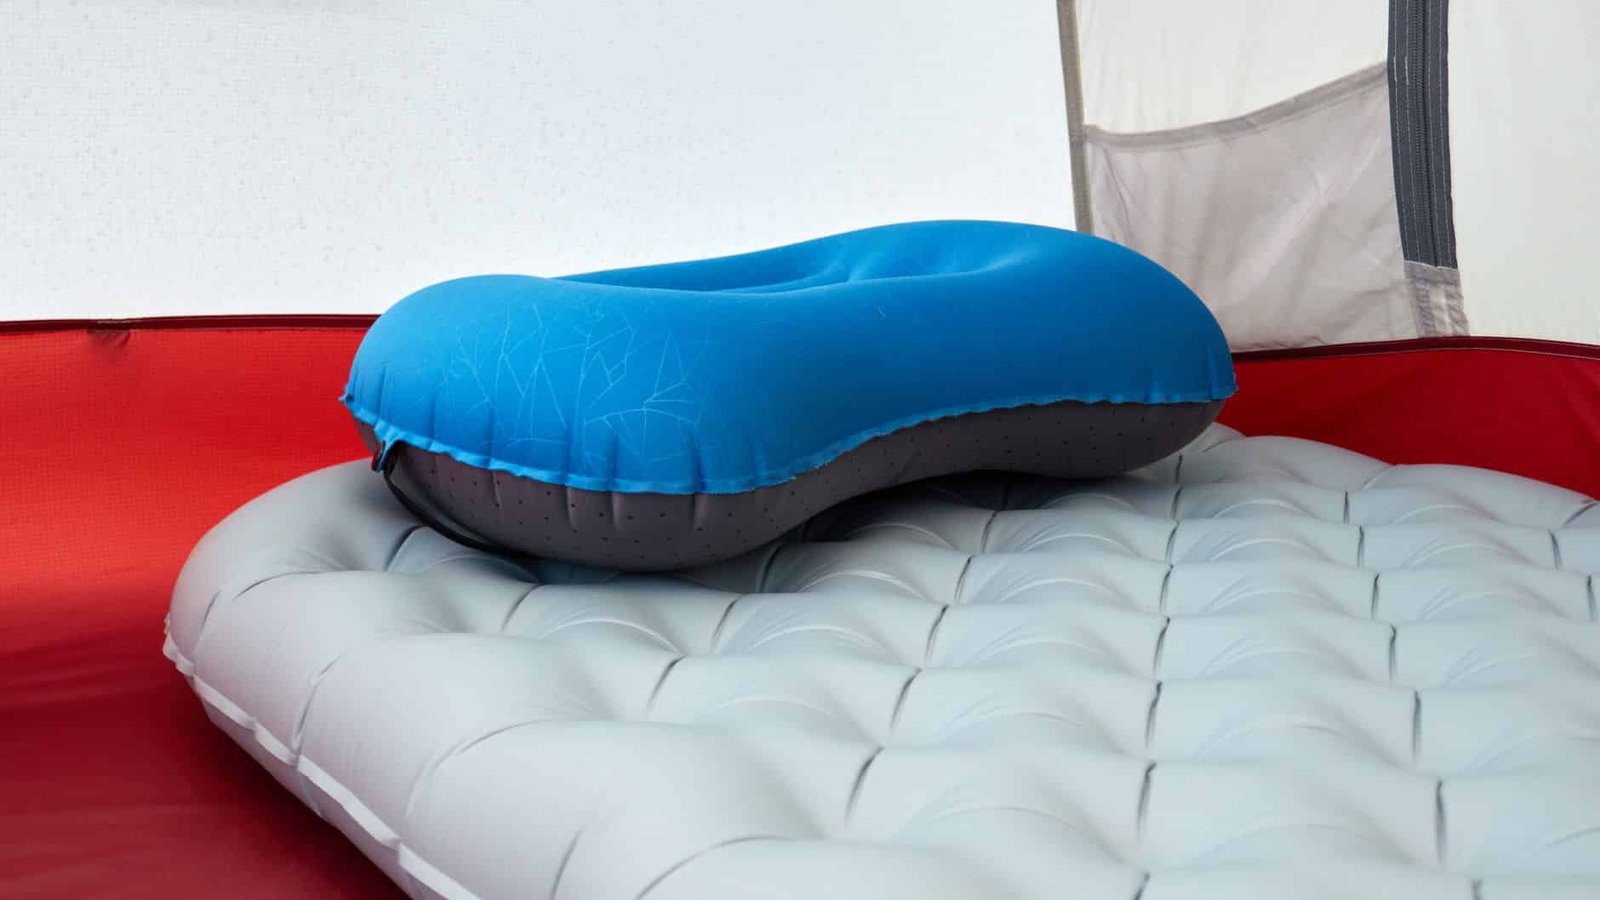
Winter warmth depends on what separates a sleeper from the ground.
At 2 a.m. on a snow-covered campsite, a sleeper’s hips can feel icy even inside a bag rated well below freezing. Body weight compresses the bag’s underside, leaving little loft to slow heat loss into the pad and ground. The bag’s temperature rating cannot make up for a pad that provides too little insulation.
A pad’s R-value measures its resistance to heat flow: the higher the number, the better it insulates. For camping on snow or frozen ground, an R-value of at least 5 is a practical starting point; sustained severe cold may call for more. The pad is not merely cushioning—it is the insulation beneath the sleeper.
What the numbers mean
- R-value
A measure of resistance to heat flow. A higher number means less heat passes through the pad under the same test conditions.
- ASTM F3340
A standardized test that measures a camping mattress’s thermal resistance between temperature-controlled surfaces.
- Combined R-value
The approximate total when two pads are stacked; their individual R-values can generally be added.
- Temperature rating
A claim that gear will perform at a specified air temperature. A pad’s R-value is not one.
How much R-value is enough?
R-value measures resistance to heat flow, not how warm a pad feels in isolation. For a dedicated winter pad, R 5 is a practical starting point. It offers a more useful margin than a lightly insulated pad when nights are cold and the ground is frozen, but it is not a universal minimum or a promise of comfort.
A useful way to read the ranges is:
| Pad R-value | Practical interpretation |
|---|---|
| R 4–5 | The lower end of winter suitability. It may work in milder conditions or for a warm sleeper, but leaves less margin on frozen ground. |
| R 5–6 | A strong starting range for a dedicated winter setup, with more protection against ground heat loss. |
| R 6–8+ | Greater margin for sustained severe cold, cold sleepers, or trips where a poor night’s sleep has serious consequences. |
These are selection ranges, not air-temperature cutoffs. Ground conditions, the warmth of the sleeping bag, clothing, shelter, and individual metabolism all affect the result. An R 6 pad cannot compensate for an inadequate bag, while a well-insulated bag cannot restore loft beneath a sleeper where its insulation is compressed.
For comparisons, look for a rating measured under ASTM F3340. The standard uses a controlled test to measure heat flow through a camping mattress, so ratings produced under it are substantially more comparable across brands than unqualified manufacturer estimates. Older pads and products without a stated test method may carry numbers derived from different procedures; a printed “R 5” is not necessarily equivalent to an ASTM-tested R 5.
Stacking pads offers a practical adjustment. An R 3 inflatable over an R 2 closed-cell foam pad yields about R 5 in combined resistance, assuming both cover the sleeping area. The foam also provides backup if the inflatable loses air. For help choosing between those constructions, see the camping sleeping pad guide.
Finally, an R-value describes thermal resistance in a laboratory setup—not a lowest safe sleeping temperature. When conditions or personal cold tolerance are uncertain, choosing more insulation provides a margin; it does not remove the need to match the entire sleep system to the trip.
Why the forecast is not enough
A forecast describes air temperature, not the surface beneath a sleeping pad. Snow can insulate because it traps air, while exposed rock, ice, and wet frozen soil can draw heat away more readily. That difference does not make a thin pad safe on snow: the sleeper still lies on a cold surface, and snow depth and density vary across a campsite.
Time matters, too. A pad that feels adequate at bedtime may feel cold after eight or ten hours of continuous contact, especially toward morning when temperatures often reach their low. A sheltered tent can reduce wind exposure, but its floor and a groundsheet add little insulation beneath the sleeper. A tent pitched on packed snow may therefore need a warmer pad than the same forecast suggests for a shorter night on less conductive ground.
Cold sensitivity changes the margin: someone who routinely wakes cold should choose more insulation than a warm sleeper using the same bag. The practical test is the coldest plausible campsite and night, not the forecast high or a single predicted low. Consider exposed ground, elevation, and a colder-than-expected morning; when uncertain, an additional closed-cell foam pad provides a useful insulation margin.
The bag and pad work together
A sleeping bag’s temperature rating does not mean it can keep a sleeper warm on bare, frozen ground. Body weight flattens the fill beneath the hips, shoulders, and back, leaving little trapped air to resist heat loss. A winter quilt makes this division of labor especially clear: it supplies loft above and around the sleeper, while the pad insulates below.
Standardized sleeping-bag temperature tests use an insulating mattress beneath the test mannequin. Their results therefore assume a meaningful barrier between the sleeper and the ground. A bag rated for a cold night may still feel inadequate if the pad falls well short of that test condition; adding a warmer bag does not reliably fix heat escaping downward.
Treat the bag rating and pad R-value as parts of one sleep system, not as numbers that can be added together. For example, a bag near its comfort limit paired with an R 2 pad offers little margin on frozen ground, even if its label suggests the air temperature is within range. Persistent cold at the hips or shoulders, while the upper body stays warm, points toward the pad as the first upgrade.
Choosing a winter pad setup
An insulated inflatable delivers high warmth for its packed size and usually offers the most comfort on uneven ground. Its R-value depends on the whole construction: baffles that limit air movement, insulation within the chambers, and sometimes reflective films. A reflective-layer claim alone says little about warmth; the tested R-value is the more useful comparison.
Closed-cell foam is bulkier and generally less cushioned, but it is light, inexpensive, and still insulates after a puncture. A foam pad paired with an inflatable adds warmth and provides a backup if the inflatable leaks. The pads’ R-values can be added as a practical estimate, though the combined setup has not necessarily been tested as one unit. The best choice among these foam and inflatable pad trade-offs depends partly on whether a leak would mean discomfort or an unsafe night.
Coverage matters as much as the number on the label. A short pad leaves lower legs on less-insulated ground unless another pad covers them. Narrow or aggressively tapered pads can expose a shoulder, hip, or knee when a sleeper rolls; generous dimensions cost weight but reduce those cold spots. Check that any foam backup is wide and long enough to cover the areas it is meant to protect.
Side sleepers should also check for bottoming out: if a hip presses through an inflatable until it nearly touches the ground, the pad’s rated insulation cannot help much at that point. Thickness and enough inflation to maintain separation matter more than firmness for its own sake. Test the setup in the usual sleeping position, with the bag on top, before relying on it in winter.
When two pads make sense
An inflatable rated R 4 over a closed-cell foam pad rated R 2 provides roughly R 6 where the pads overlap. R-values are approximately additive, making stacking pads for extra warmth a practical way to upgrade an existing setup. The sum is an estimate, not a guarantee: gaps, shifting layers, and uneven contact can create colder spots.
Putting foam beneath the inflatable does more than raise the insulation value. It shields the inflatable from sharp ice, grit, and rough ground, while leaving a puncture-resistant layer to sleep on if the inflatable fails. Foam also keeps some insulation under a hip that presses deeply into the air pad, though it cannot restore the comfort or full warmth of an inflated mattress.
The trade-off is pack bulk and added weight. For someone who already owns a suitable inflatable, a foam pad may be a cheaper, more fault-tolerant upgrade than replacing it. A single higher-R inflatable makes more sense when space is tight or the second pad would be too short to protect the areas that get cold.
Check the overlap, not just the sum. Both layers must extend beneath the shoulders and hips for their R-values to add there. If foam stops at the knees, the feet receive only the inflatable’s insulation; in severe cold, a full-length foam pad avoids that weak point.
If an inflatable deflates, the foam remains usable, but its R-value alone may be too low for the conditions. Treat puncture protection and emergency insulation as different benefits.
Three winter pad assumptions worth checking
More loft helps above and around the sleeper, but body weight compresses the fill underneath.
A bag upgrade may leave hips and shoulders losing heat to the ground. Insulation beneath those pressure points must come from the pad.
Thickness provides cushioning; warmth depends on how the pad limits heat transfer.
An uninsulated air mattress can be thick yet cold, while a thinner pad with effective insulation can have a higher R-value.
That label has no fixed test threshold; an ASTM F3340 R-value permits a more useful comparison.
Check the stated rating rather than treating a seasonal name as a promise of comfort on frozen ground.
An R 5 setup may be adequate for expected winter conditions. For an exposed site, a colder-than-forecast night, or a sleeper who runs cold, a higher-R pad or an added foam layer provides margin. That extra insulation is most useful before conditions deteriorate—not after the ground starts feeling cold.
Choose the pad, then test the system
- Plan for the coldest credible night
Use the coldest plausible conditions at the actual campsite, not just the forecast low. Allow for frozen ground, exposed sites, and a weather delay that could extend the trip.
- Choose R-value with room to spare
R 5 is a starting point; R 6 or more offers margin when conditions or personal cold tolerance are uncertain. Deep cold can warrant R 6–8+, especially for long nights on frozen ground.
- Decide between one pad and two
A single high-R pad is simpler and may pack smaller. A foam pad beneath an inflatable adds insulation and puncture protection, plus a usable backup if the inflatable fails. For long carries, compare lightweight backpacking pads with enough insulation by total system weight, not pad weight alone.
- Spend a cold night close to home
Test the complete pad, sleeping bag, clothing, and shelter setup where retreat is easy. Notice whether hips or shoulders feel cold after several hours, not just at bedtime.
- Check the setup before departure
Confirm both pads cover the sleeper’s pressure points and the inflatable holds air overnight. Pack a compatible repair kit and know how to use it.
Save weight by cutting unnecessary extras, not the insulation needed for a credible cold night. A pad system that fits, holds air, and has been tested in the cold is a safer choice than one selected by its R-value alone.
CampEquipmentPlus relies on reader support. Purchases made via links on our website may earn us an affiliate commission at no extra cost to you, helping keep the site running.