
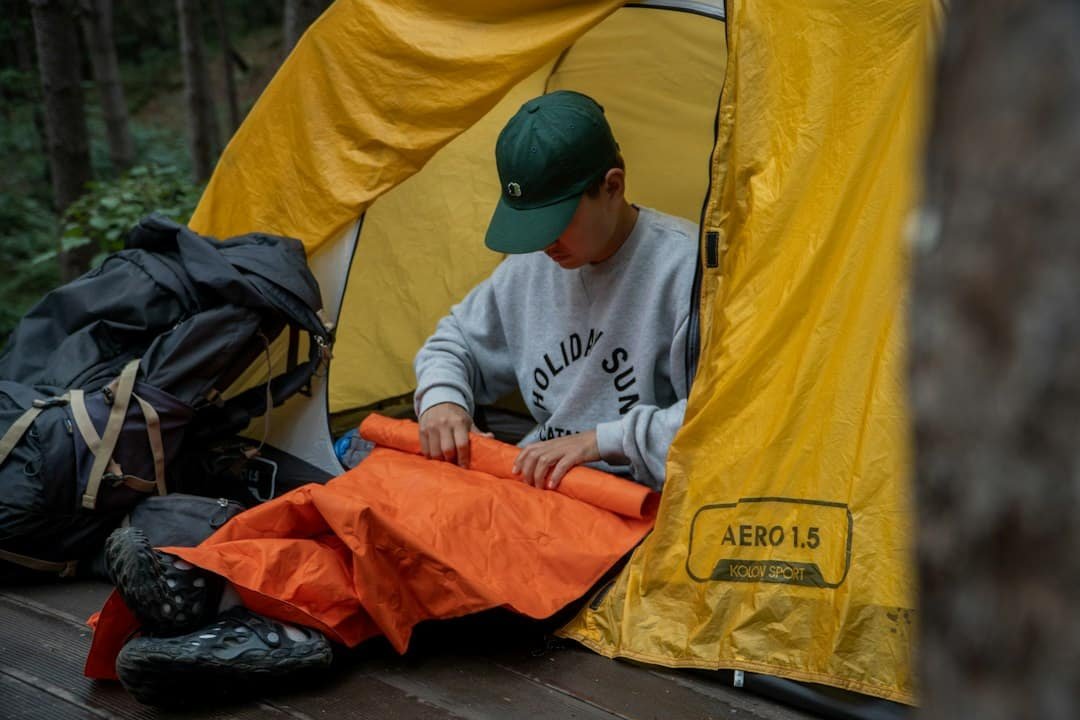
A sleeping bag cannot make up for the wrong pad.
A first-time camper can lie down on a thick, inviting pad and still wake with a cold back and sore hips. The sleeping bag’s insulation compresses under body weight, leaving the pad to slow heat loss into the ground. Thickness alone does not measure warmth; a pad’s R-value does. Nor does a high R-value guarantee comfort: a pad that bottoms out under the hips, or feels unstable when fully inflated, can make sleep restless.
The best choice also has to reach camp. A warm, cushioned pad may be easy to bring by car but awkward on a long walk, where weight and packed size matter alongside ground temperature and support.
How the three pad types compare
The thickest-looking pad is not necessarily the warmest. R-value measures resistance to heat loss, while thickness mainly affects how far a hip or shoulder can sink before reaching the ground. Compare published R-values across pad types rather than assuming that more air means more warmth.
- Closed-cell foam is inexpensive, light, and nearly impossible to puncture. It provides dependable insulation even when wet, but offers limited cushioning and usually straps outside a backpack because it does not compress. It suits rough campsites, budget trips, and use beneath another pad for added warmth.
- Inflatable pads pack smallest and can provide generous cushioning at low weight—an advantage for backpackers and side sleepers. Warmth varies widely: insulated models can be suitable for freezing ground, while uninsulated ones may feel cold in mild weather. They cost more than basic foam, require inflation, and can lose comfort quickly if punctured.
- Self-inflating pads combine an air chamber with an open-cell foam core that expands when the valve opens; they often need a few finishing breaths. The foam contributes insulation and a steadier feel than an air-only pad, making these a practical choice for car camping or shorter carries. They generally pack larger and weigh more than comparable inflatable pads, and their airtight shell can still be punctured.
A household-style air mattress is a separate proposition. It may feel spacious at a drive-up campsite, but its bulky packed size, pump needs, and typically unrated insulation make it a poor substitute for a camping pad on cold ground. For any style, check the stated R-value and packed dimensions alongside the price—not just the thickness shown in a photo.
Choosing a pad’s warmth
R-value measures resistance to heat flowing through a pad into the ground. A higher number means more insulation, and pads tested under the ASTM F3340 standard can be compared across brands. It is not a temperature rating: the same pad may feel comfortable to one camper and cold to another.
Plan around the coldest ground likely on the trip, not just the forecast low for the air. A mild summer campsite may need little insulation, while frozen ground calls for substantially more. As rough starting points, R-values around 1–2 suit warm conditions, 3–4 offer more margin in cool weather, and 5 or higher is commonly considered for winter. For colder trips, the winter R-value decision deserves a closer look at conditions and sleep system.
Cold sleepers should build in extra margin. So should anyone relying on a sleeping bag’s temperature rating near its limit: body weight compresses the bag’s underside, leaving little loft between the sleeper and the ground. A warmer bag cannot reliably make up for an underinsulated pad.
Thickness is not a warmth rating. A deep, uninsulated air pad can still lose heat quickly; a thinner pad with foam, synthetic fill, down, or reflective layers may insulate far better. Compare tested R-values rather than judging by height or plushness. If an existing pad falls short, stacking it with a foam pad can add insulation, provided the pads stay aligned through the night.
An R-value is most useful when the pad is tested to ASTM F3340. A claimed warmth range or an unstandardized R-value is less reliable for comparing models.
Finding a pad that supports the body
A warm pad can still leave a sleeper with aching hips. R-value measures resistance to heat loss, not pressure relief. Comfort depends on how the pad distributes weight and whether its surface keeps the body supported without pressing hard against bony areas.
Side sleepers concentrate weight on the shoulder and hip, so they often need more cushioning than back sleepers. A pad that is too thin or soft may let those points bottom out against the ground. Back sleepers may prefer steadier support under the pelvis; stomach sleepers often find a very soft pad uncomfortable because it lets the hips sink.
Shape matters as much as thickness. A narrow or sharply tapered pad can leave an elbow or knee on the tent floor, while raised side baffles may help a restless sleeper stay centered. Horizontal baffles and smooth, flat surfaces can also feel different beneath the body even when two pads have the same advertised thickness.
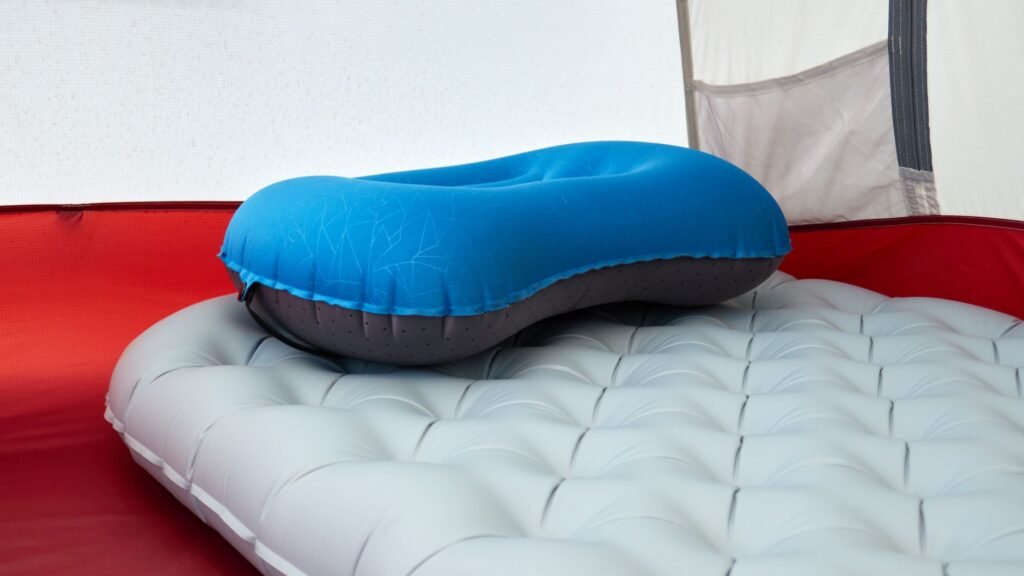
An inflatable pad pumped rock-hard may feel less comfortable than a slightly softer one: it cannot yield around the shoulder and hip. Start firm, then release a little air while lying in the usual sleeping position, stopping before either point touches the ground. Test for several minutes on a firm floor, with the pillow normally used for camping. Notice pressure points, whether the hips sag, and whether arms or knees slip off the edges; a quick press with a hand will not reveal those problems.
Sizing a pad to the sleeper and tent
A pad should support more than the torso. Full-length pads keep heels off cold ground, while shorter pads save weight if a pack or spare clothing can insulate the lower legs. Width matters just as much: a narrow pad may leave a side sleeper’s knees or a restless sleeper’s arms on the tent floor. A lying-down trial, including a roll onto each side, reveals whether the usable surface is wide enough.
Check the pad’s dimensions against the tent’s interior floor, not its advertised sleeping capacity. Some tents taper toward the foot or lose usable width beside sloping walls. Leave room for the pads to lie flat without pressing the tent fabric outward or blocking the door.
For two sleepers, a shared double pad with room to move removes the gap between pads, but movement and firmness preferences become shared. Two separate pads allow independent inflation and easier packing, though they can drift apart. If either arrangement slides, first check that the tent is pitched level and the floor fabric is taut. A fitted sheet or thin non-slip layer may help; fixing the pad’s grip on the tent floor is often simpler than replacing it.
Match the pad to the walk
At a drive-up campsite, packed size matters mostly for fitting gear in the vehicle; a thick self-inflating pad may be worth its bulk. A short walk to camp makes a smaller roll appealing, while a multi-day hike puts weight and pack space under closer scrutiny. Check both listed weight and packed dimensions: a light pad that must ride outside a full pack may not be convenient.
For longer hikes, lightweight pads that still offer comfort are worth comparing. The lightest inflatable is not automatically the best choice, though. Thin fabric can be less forgiving of thorns and rough handling, and fabric denier alone cannot predict whether seams or valves will hold up.
Consider the consequences of a leak before shaving off ounces. An inflatable should have a compatible patch kit, with a repair method that works in camp. Closed-cell foam cannot deflate, making its bulk easier to justify on rough ground or remote trips. A thin foam layer beneath an inflatable adds puncture protection and backup insulation, but also takes up pack space.
Test the pad with the rest of the sleep setup
-
Check the specifications
Compare the stated R-value—preferably tested to ASTM F3340—with the expected ground conditions. Confirm that the pad’s length and width fit both the sleeper and the usable floor space of the tent, especially near tapered walls.
-
Bring the intended bag or quilt
Lie on the pad in normal sleeping positions with the actual bedding and pillow. Quilt straps can pull against a pad’s edges, while a bag’s hood or footbox can change where the body settles.
-
Operate the valve
Inflate the pad using the method intended for camp, whether that is a pump sack or built-in pump. Check that the valve holds air while filling, permits small firmness adjustments, and releases air readily for packing.
-
Adjust firmness before judging comfort
Spend several minutes on the back and side. A little less air may ease pressure at the hip or shoulder, but the body should not bottom out; sitting and rolling near the edge will reveal how stable it feels.
-
Listen while moving
Turn over several times and notice fabric crinkle or squeaking against the tent floor. Sounds that seem minor in a shop may be more noticeable in a quiet tent.
-
Give self-inflating foam time
After prolonged storage, a self-inflating pad may expand slowly and still need a few breaths to reach the preferred firmness. If it remains flat, follow these checks for a pad that will not inflate before treating slow expansion as a defect.
When a pad feels flat overnight
An inflatable pad can feel softer by morning even when it has no leak. Air blown into it may be warmer than the night air; as that air cools, its pressure drops. Firm it up once after the pad reaches the tent’s temperature. If it repeatedly loses firmness at a stable temperature, look for a leak.
Check the valve first: remove grit, close it fully, and listen or feel for escaping air. If the valve holds, inflate the pad and apply soapy water to the fabric and seams; growing bubbles reveal the leak. Mark the spot, let it dry, and use a patch compatible with the pad’s material. A leaking seam or valve may instead need the manufacturer’s repair service or warranty.
Choose a pad with enough R-value for the coldest ground expected, then select the construction that suits the trip: durable foam for rough use, compact inflatable for limited pack space, or self-inflating foam for a firmer feel. Confirm the choice by lying on it in a normal sleep position and checking that it fits inside the tent without pressing against the walls.
For an inflatable, keep the patch kit and valve-specific repair parts accessible rather than buried at the bottom of a pack. After the trip, dry the pad thoroughly and follow storage guidance for its construction; foam and air-filled designs do not all benefit from being put away the same way.
CampEquipmentPlus relies on reader support. Purchases made via links on our website may earn us an affiliate commission at no extra cost to you, helping keep the site running.